Hugo Site Example:
Introduction
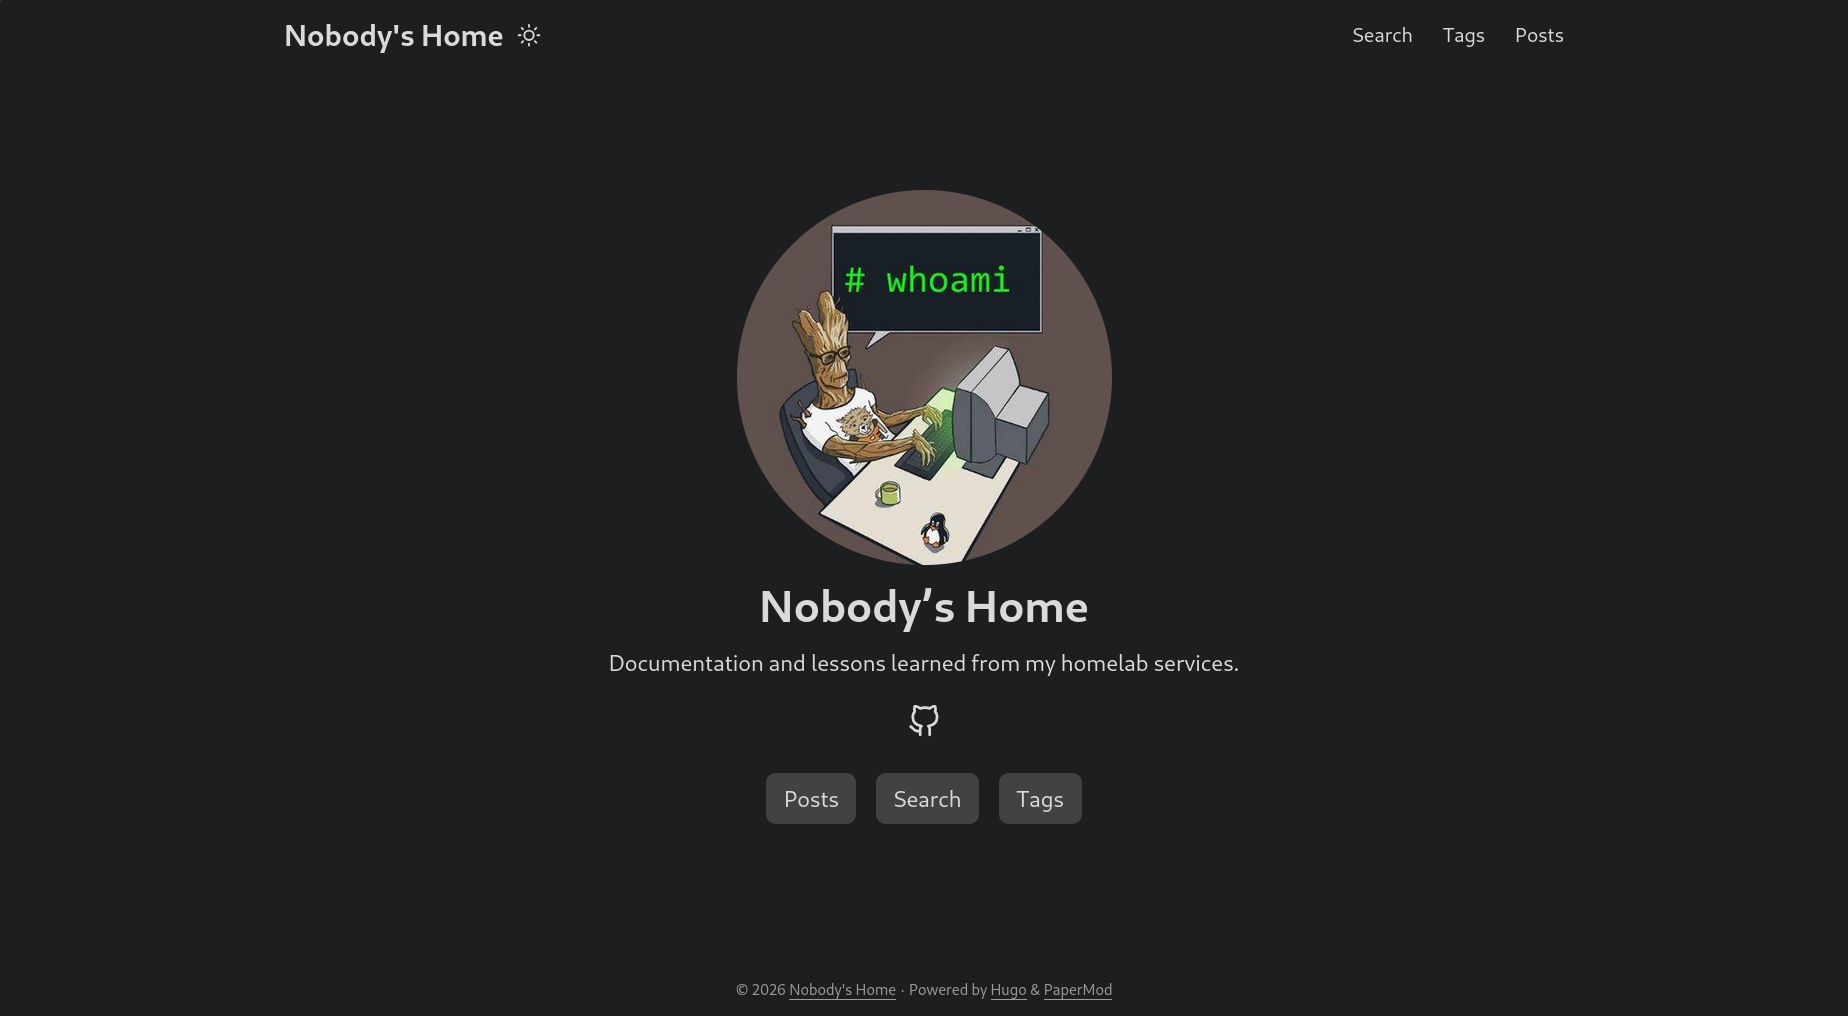
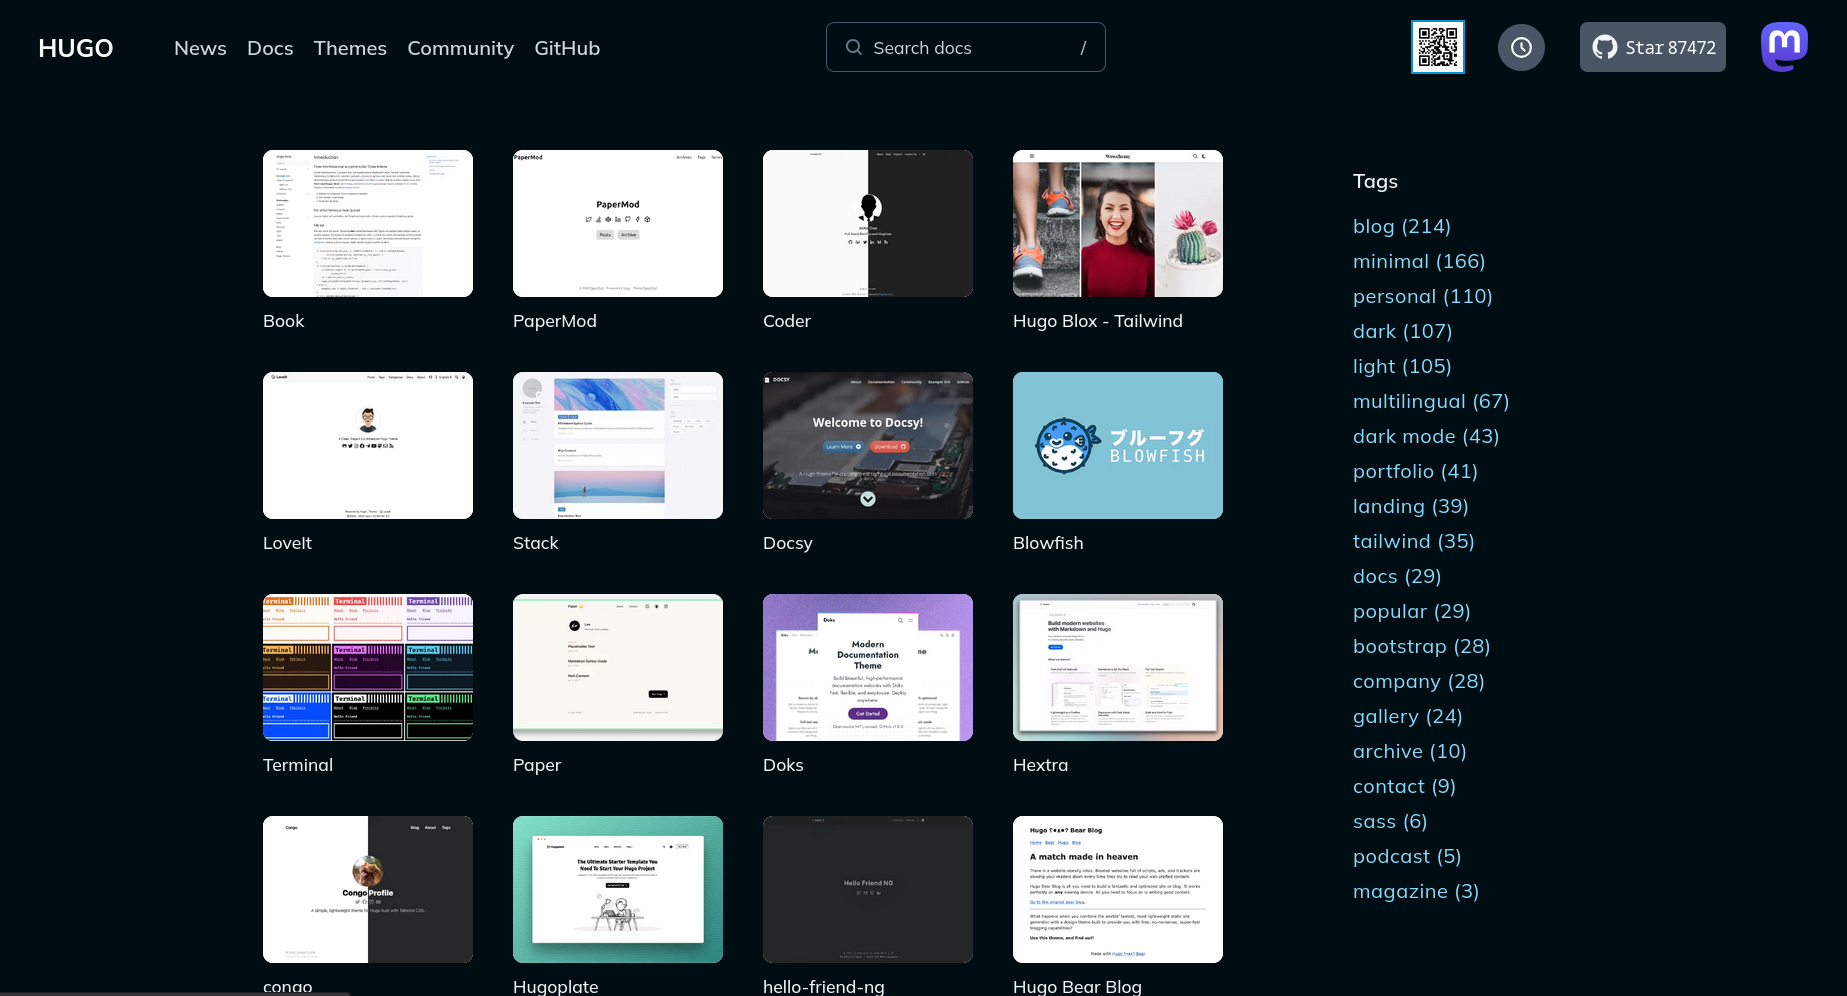
This guide is not all inclusive (RTFM). Hugo is a static site generator, converting your .md text files, and a chosen theme into a modern looking website (like this one). There are a staggering number of themes to give you the look and feel that your site needs.
Everything Up Front
It all starts with the hugo.yaml file (you can use .toml too), consult the hugo documentation. Here is the configuration for this site:
hugo.yaml
baseURL: "[BASE URL]"
languageCode: en-us
title: [TITLE]
theme: ["THEME_NAME"]

enableRobotsTXT: true
buildDrafts: false
buildFuture: false

ShowReadingTime: true
ShowCodeCopyButtons: true
UseHugoToc: true

minify:
  disableXML: true
  minifyOutput: true

menu:
  main:
    - identifier: search
      name: Search
      url: /search/
      weight: 1
    - identifier: Tags
      name: Tags
      url: /tags/
      weight: 2
    - identifier: Posts
      name: Posts
      url: /posts/
      weight: 3

params:
  title: [Title Line for the Site]
  description: "DESCRIPTION"
  author: AUTHOR
  DateFormat: "January 2, 2006"

  assets:
    favicon: "/img/favicon.ico"

  ShowBreadCrumbs: true
  ShowPostNavLinks: true

  profileMode:
    enabled: true
    title: [TITLE]
    subtitle: "SUBTITLE"
    buttons:
      - name: Posts
        url: /posts/
        style: primary
      - name: Search
        url: /search/
        style: primary
      - name: Tags
        url: /tags/
        style: primary

    imageUrl: "PROFILE PICTURE URL"
    #imageUrl: "/assets/iamroot.png"
    imageTitle: "IMAGE_TITLE"
    imageWidth: 300
    imageHeight: 300

  socialIcons:
    - name: "Github"
      url: "LINK_TO_GITHUB"

outputs:
  home:
    - HTML
    - RSS
    - JSON # necessary for search
Directory Structure
Here’s how everything is stored in the hugo directory. The hugo.yaml file resides in the root directory:
├──hugo.yaml #This is the yaml file above
├──README.md
├──archetypes
├──content
│  └──Posts #this is where your posts go
|  └──posts.md
|  └──search.md
├──PaperMod
├──public
│  ├──[DO NOT TOUCH THIS - HUGO GENERATED]
├──static
│  ├──assets #this is where I'm storing the images for my posts
│  │  ├──[A FOLDER PER POST WITH IMAGES]
│  └──img
└──themes
   └──PaperMod
Breaking It Down
That was a dump of information, so here’s the context and some basics.
Getting Started
- Set up the project with
hugo new project PROJECT-NAME - Get the site up and running:
hugo serve. - Edit the site and posts to your heart’s content, then finalize it with
hugo build. - Move the site contents from the
publicfolder to your chosen web hosting service (nginx, apache, caddy, etc).
My workflow
- Build the post using a standard setting for each page:
---
title: "POST_TITLE"
tags: ["TAG1","TAG2"]
author: AUTHOR
draft: false
showToc: true
ShowCodeCopyButtons: true
date: 2026-04-24
---
Build the post:
links: [text to display](link url)
images: 
code snippets using the “`” character, use three to open and close code blocks “```”
references to other posts: [LINKNAME]({{<relref "/posts/[THE POST].md">}})
Generate the site contents: Build into the
publicfolder:
hugo build --minify --cleanDestinationDir
or use this command to designate your own destination:
hugo build --minify --cleanDestinationDir -d [DESTINATION DIR]
- Move the contents of the
publicfolder to your web server’s directory (nginx, apache, caddy, etc).
Additional Configuration
Search
See above ‘hugo.yaml’ - the search.md file contains the following contents:
---
title: "Search" # in any language you want
layout: "search" # necessary for search
url: "/search"
description: "Find what you're looking for"
summary: "search"
placeholder: "what are you looking for?"
---
Posts
Again, here’s the .md file:
---
title: "Posts"
layout: "archives"
url: "/posts/"
summary: "posts"
---
Conclusion
Hugo is incredibly flexible, and endlessly customizable. This little walkthough barely scratches the surface, but shows how I’ve implemented it onto my website.